
7 DIY Grout Sealing Mistakes That Waste Money

By Josh Kaplan
Key Takeaways
Sealing dirty or damp grout traps moisture and contaminants, causing the sealer to fail immediately.
Epoxy grout is non-porous and does not need sealing — applying sealer to it wastes time and product.
Sealer must be fully dry before tile gets wet; 24–48 hours is the safe minimum cure window.
One thin coat is never enough — most penetrating sealers require two coats for reliable protection.
Visible haze or residue on tile means excess sealer was not wiped off in time and must be removed.
7 DIY Grout Sealing Mistakes That Waste Your Time and Money
DIY grout sealing mistakes are the single most common reason homeowners find themselves resealing tile within months of finishing the job — or facing cracked, stained grout that a proper sealing application could have prevented. Grout sealing is a straightforward task in theory: apply a penetrating or membrane-forming sealer to porous grout lines, let it cure, and enjoy protection against moisture, mold, and staining. But the details matter enormously, and small missteps early in the process compound into expensive failures.
Why Does Grout Sealing Fail So Often?
Grout sealing fails because most people treat it as a single step rather than a process. Unsealed or poorly sealed grout is essentially a sponge — cement-based grout is highly porous by nature, as explained in the material science overview on Wikipedia, meaning it absorbs water, soap scum, cooking grease, and mold spores continuously. A sealer only works when it bonds into a clean, dry, correctly prepared surface. Skip any part of that preparation, and the sealer sits on top rather than penetrating the grout matrix, giving you the illusion of protection without the reality. According to Statista, home improvement projects rank among the most frequently redone DIY tasks — and tile and grout work is a consistent contributor to that pattern, largely due to preparation errors rather than product failures.
Below are the seven most damaging mistakes homeowners make when sealing grout themselves, along with exactly how to avoid each one.
Mistake #1: Sealing Grout That Is Still Dirty
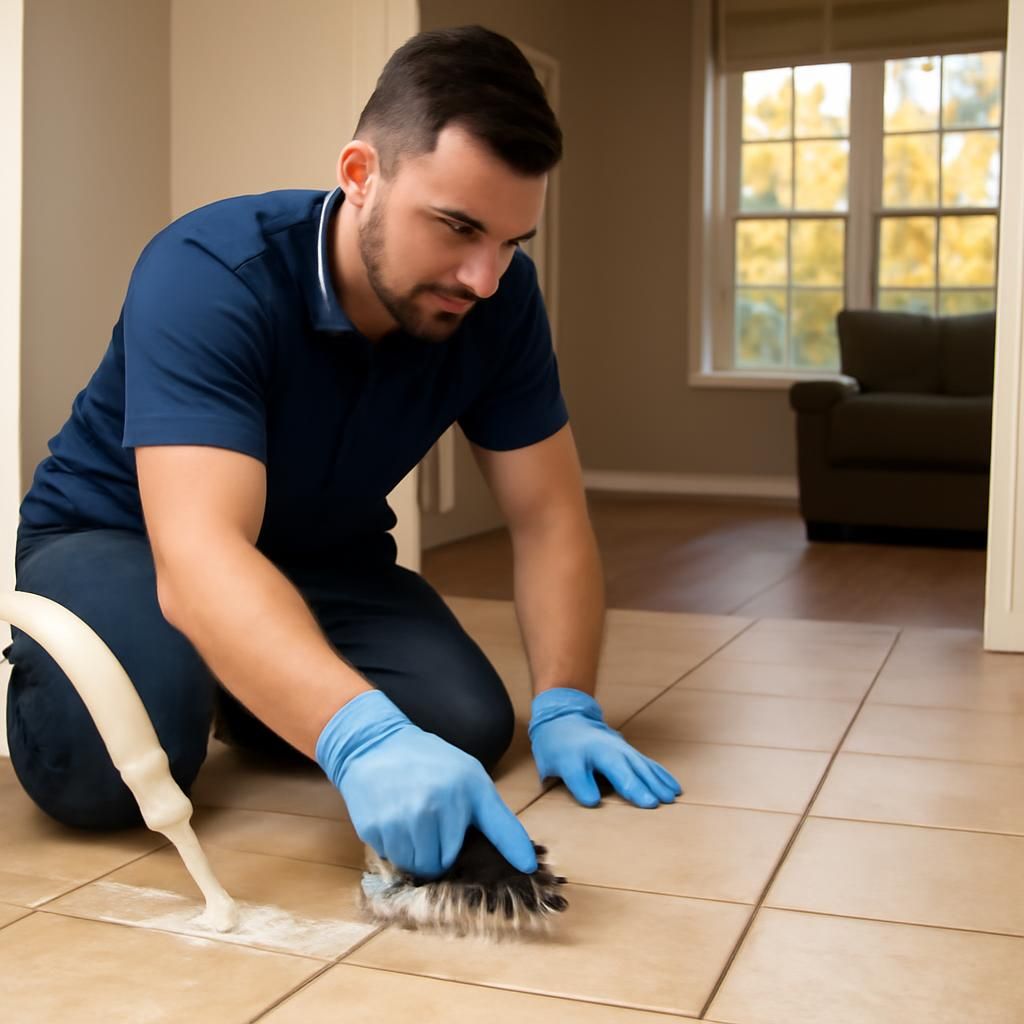
Applying grout sealer over dirty grout lines is the fastest way to lock in the problem you were trying to prevent. A penetrating sealer works by absorbing into the porous grout structure — if that structure is already filled with soap scum, mineral deposits, mildew, or embedded grime, the sealer bonds to the contamination rather than to the grout itself. The result is a weak, patchy barrier that flakes within weeks.
The correct approach: deep-clean all grout lines before sealing, allow them to fully dry, and confirm they are visibly clean and uniform in color. If your grout is heavily stained, a professional grout cleaning service should precede any sealing attempt. This is not optional — it is the foundation of the entire job.
Mistake #2: Not Waiting for Grout to Dry Completely
Moisture trapped beneath grout sealer cannot escape, and it causes the sealer layer to bubble, cloud, or delaminate. This applies in two scenarios: sealing freshly installed new grout before it has cured, and sealing after cleaning without allowing adequate drying time.
New cement-based grout requires a full 48 to 72 hours of cure time at minimum before sealing — and in humid climates or bathrooms with poor ventilation, that window extends further. After cleaning, the grout must dry completely — typically 24 hours in a well-ventilated space. Testing with a dry paper towel pressed firmly against the grout line is a reliable field check: if any moisture transfers, the surface is not ready.
Mistake #3: Using the Wrong Type of Sealer for Your Grout
Not all grout sealers are interchangeable, and using the wrong product is one of the most overlooked DIY grout sealing mistakes. There are two main categories:
Penetrating (impregnating) sealers — absorb into the grout matrix and protect from within. Best for sanded and unsanded cement-based grout in floors, showers, and countertops.
Membrane-forming (topical) sealers — create a surface coating. These can trap moisture if applied to grout that sees significant water exposure, and they tend to peel in wet environments like showers.
Understanding the difference between these two formulations is essential before you buy anything — a full breakdown of how each type performs in real-world conditions is covered in this guide to penetrating vs. topical grout sealers. There is also a critical product-matching issue: epoxy grout does not need sealing at all. Epoxy grout is non-porous — it is manufactured from epoxy resin and hardener rather than cement — meaning a sealer has nothing to bond to and simply wastes product. Applying a topical sealer to epoxy grout can actually make the surface slippery or leave a permanent haze. Confirm your grout type before purchasing any sealer.
Mistake #4: Applying Only One Thin Coat
A single coat of penetrating sealer is almost never sufficient. Most penetrating sealers require two coats, applied in sequence, to fill the porous grout structure completely. The first coat partially saturates the grout; the second coat reaches the areas the first coat missed and builds a continuous barrier.
The correct technique: apply the first coat, wait the manufacturer's specified flash time (typically 5 to 10 minutes), wipe away any excess from the tile surface, and then apply the second coat. Rushing this step by skipping the second coat leaves the grout partially protected — and partially exposed grout will stain and absorb moisture at every unprotected point.
Mistake #5: Leaving Excess Sealer on Tile Surfaces
Grout sealer is designed to absorb into grout, not to coat tile. When sealer is applied with a brush or bottle applicator and left to pool on the tile face, it dries as a cloudy, difficult-to-remove haze. On glazed ceramic and porcelain this is cosmetically damaging; on natural stone tile it can permanently alter the surface finish.
The fix is timing: wipe excess sealer off the tile surface within five minutes of application using a clean, dry microfiber cloth. Once sealer hazes over — typically after 15 to 20 minutes depending on temperature and humidity — removal requires a specialty sealer stripper, which adds cost, labor, and risk of damaging the grout lines you just sealed. Work in small sections and stay ahead of the drying time.
Mistake #6: Allowing Water Contact Before the Sealer Cures
This is one of the most common DIY grout sealing mistakes because it is invisible until the damage is done. A sealer may feel dry to the touch within an hour, but it has not fully cured — meaning the sealer molecules have not fully migrated into the grout pores and cross-linked into a protective barrier. Water contact during this window disrupts the curing process, leaving weak spots throughout the grout lines.
The safe minimum is 24 hours before any water exposure; 48 hours is recommended for showers and areas that see standing water. This applies to steam as well — do not run a shower or bathroom fan that pulls steam across fresh sealer. Plan the sealing job when the area can be kept dry for a full two days.
Mistake #7: Sealing Grout That Actually Needs Repair First
Sealing over cracked, crumbling, or missing grout is like painting over a hole in a wall — it looks addressed but solves nothing. Cracked grout lines allow water to pass behind the tile and into the substrate, where no amount of surface sealing provides any protection. In a shower environment especially, this leads to mold growth behind tile, water damage to the wall substrate, and eventually structural repairs that cost far more than grout repair would have.
Before any sealing project, inspect every grout line visually. Press along the grout with a fingernail — any grout that crumbles, flexes, or sounds hollow when tapped is structurally compromised. Grout repair must come before grout sealing, not after. If you notice widespread deterioration, it's worth reviewing the signs your grout needs professional repair before deciding whether a DIY fix is appropriate. Similarly, deteriorated shower caulking at corners and transitions must be addressed before sealing the field grout, since failed caulk joints are a primary water intrusion point that sealer cannot bridge.
What to Avoid: Specific Materials and Situations That Cause Damage
Acid-based cleaners before sealing: Products containing hydrochloric or muriatic acid etch cement grout and open the pore structure unevenly, causing inconsistent sealer absorption. Use a pH-neutral grout cleaner instead.
Solvent-based sealers on colored grout: Some solvent-based formulations can slightly alter or lighten the color of pigmented grout. Test on an inconspicuous area first.
Foam applicators on rough or sanded grout: Foam applicators leave bubbles in textured grout lines. Use a small brush applicator or a bottle with a narrow tip to work the sealer into the grout properly.
Over-application in cold temperatures: Below approximately 50°F (10°C), most penetrating sealers cure too slowly and unevenly. Seal only when the room temperature is stable and within the manufacturer's recommended range.
When Should You Call a Professional Instead?
DIY grout sealing is genuinely manageable when the grout is in good condition, clean, and simply due for routine maintenance sealing. The math changes when the grout is heavily stained, cracked, or when the tile is in a high-moisture area like a shower that has shown signs of water intrusion. In those situations, professional grout cleaning, grout repair, and shower caulking services address the underlying problems that surface sealing cannot reach — and they ensure the sealing step actually protects a sound substrate.
Groutastic provides professional tile and grout cleaning, grout repair, and shower caulking services precisely for these situations — the cases where a DIY approach risks sealing in damage rather than preventing it.
Frequently Asked Questions About Grout Sealing
How often should grout be resealed?
Most cement-based grout in a shower or high-traffic floor should be resealed every one to two years. A simple water test confirms whether it is time: drop a few beads of water on the grout line. If the water soaks in rather than beading up, the sealer has worn through and resealing is needed. For a more detailed breakdown by location and grout type, see this guide on how often you should seal grout.
Can I seal grout myself or do I always need a professional?
Routine maintenance sealing of clean, intact grout is a manageable DIY task. Professional help is warranted when grout is cracked, deeply stained, moldy, or when the tile is in a shower that has shown signs of water intrusion behind the wall.
Does grout sealer change the color or appearance of tile?
A penetrating sealer applied correctly leaves no visible change on glazed tile. On unglazed natural stone or matte-finish tile, a "color-enhancing" sealer can deepen the tone slightly — which is sometimes desirable. Always test on a hidden area first.
What happens if I never seal my grout?
Unsealed cement-based grout absorbs moisture and staining agents immediately. Over time this leads to permanent discoloration, mold and mildew growth within the grout pores, and accelerated grout deterioration requiring more costly repair or replacement. Discoloration from moisture infiltration is also a common cause of yellow, orange, and pink grout stains that become very difficult to reverse once they set in.
The Bottom Line
The most expensive DIY grout sealing mistakes are not about the sealer itself — they are about the preparation and timing that determine whether the sealer actually works. Seal dirty grout and you lock in the problem. Seal damp grout and you trap moisture. Skip the second coat and you leave gaps. Seal over damaged grout and you delay the real repair. Get those fundamentals right, and grout sealing is a straightforward maintenance task that genuinely extends the life of your tile. If the grout is already cracked, stained beyond cleaning, or your shower caulking has failed, start with professional grout repair and caulking first — then seal a properly prepared surface and the investment will last.
This article is based on real published content from Groutastic, cites authoritative sources, and is reviewed before publication.
Comments