
Shower Pan Leak vs. Grout Leak: Tell the Difference

By Josh Kaplan
Key Takeaways
A grout leak seeps through cracked or missing grout lines; a shower pan leak bypasses the tile entirely.
The flood test isolates pan leaks: plug the drain, fill with water, and check levels after 24 hours.
Wet subfloor or ceiling stains below the shower almost always signal a pan failure, not grout.
Cracked grout at wall-to-floor transitions is a common, fixable entry point for water infiltration.
Delaying diagnosis risks mold growth, structural rot, and measurable loss in home resale value.
Shower Pan Leak vs. Grout Leak: How to Tell the Difference
A shower pan leak and a grout leak are two distinct failure points in a tiled shower, and confusing one for the other leads to costly, misdirected repairs. A shower pan leak vs. grout leak diagnosis comes down to where water escapes: through the waterproof liner beneath the tile assembly, or through cracked, missing, or deteriorated grout joints on the walls and floor. Identifying the exact source quickly protects your subfloor, framing, and indoor air quality.
What Is a Shower Pan and How Does It Differ from Grout?
The shower pan is the waterproof foundation of a tiled shower. In a traditional mud-bed installation, a flexible liner — typically PVC or CPE (chlorinated polyethylene) — sits beneath the mortar bed and directs any water that penetrates the tile surface toward the drain's weep holes. According to Wikipedia, a waterproofing membrane in construction is a layer applied to a surface to prevent water penetration, and in shower assemblies that membrane is precisely what the pan liner provides. Modern showers may use a prefabricated foam pan (like the Schluter Kerdi system) instead of a poured mud bed, but the function is identical: keep water away from wood and concrete structure.
Grout, by contrast, is the cementitious or epoxy material that fills the joints between tiles. Standard sanded and unsanded cement grouts are not waterproof on their own — they are water-resistant only when properly sealed. Over time, grout cracks from thermal expansion, settling, and daily flexing, allowing water to migrate through the joint and into the substrate.
What Are the Tell-Tale Signs of Each Leak Type?
Signs of a Grout Leak
Visible cracks or gaps in grout lines, especially at the cove base where the floor meets the wall — this 90-degree corner flexes constantly and is the most common grout failure point.
Loose or hollow-sounding tiles near the floor — tapping them reveals a dull thud instead of a solid ring, indicating water has weakened the mortar bond beneath.
Efflorescence (white mineral deposits) on grout lines or tile surfaces, caused by dissolved salts carried by migrating water.
Mold or mildew limited to grout lines, particularly on walls rather than at the ceiling of the room below.
Dampness in the adjacent wall (not the subfloor directly), because water entered through a wall grout joint and is wicking laterally.
Staining or discoloration that appears only after showers, not between uses.
Signs of a Shower Pan Leak
Wet, soft, or bouncy subfloor around the shower perimeter — the most reliable indicator of liner failure.
Water stains or active dripping on the ceiling below the shower on a multi-story home.
Musty odor even after thorough cleaning, indicating moisture trapped beneath the tile assembly where it cannot evaporate.
Mold in the ceiling drywall below the shower, a space that grout-line water rarely reaches directly.
Floor tiles that rock or shift — prolonged saturation dissolves the mortar bed, destabilizing the entire floor.
Leak appears even when you run water without standing in the shower, suggesting the liner is compromised regardless of how the drain functions.
How to Perform the Flood Test to Isolate a Pan Leak
The flood test is the single most reliable DIY method for confirming a shower pan leak because it bypasses the grout entirely — you are testing the liner, not the tile surface.
Dry the shower floor completely and let it sit unused for at least 24 hours.
Plug the drain using an inflatable test ball (like the Cherne 1.5-inch test ball plug, sized to your drain opening) or a rubber stopper. A tight seal is critical — a loose plug invalidates the test.
Fill the shower floor with water to a depth of about 1 inch — enough to sit above all grout lines but below the liner's clamping ring at the drain.
Mark the water level with a piece of tape and note the time.
Wait 24 hours without using the shower.
Check the water level. If the level has dropped, the liner is leaking. If the level is unchanged, the liner is intact and your problem is almost certainly in the grout or caulk.
Inspect the ceiling below simultaneously — new moisture appearing there during the test confirms a pan failure even if the water level drop is subtle.
When this test does NOT apply: Prefabricated acrylic or fiberglass shower pans do not use a liner system; cracks in those units are visible on the pan surface itself and require a different repair approach entirely.
Comparison Table: Shower Pan Leak vs. Grout Leak
Feature | Grout Leak | Shower Pan Leak |
Primary failure point | Cracked or missing grout joints; failed caulk at corners | Torn, punctured, or improperly installed liner |
Visual clue on tile surface | Visible cracks, discoloration, or efflorescence in grout lines | Often no visible surface damage; tiles may rock |
Subfloor condition | May be damp near walls if water migrates | Wet, soft, or rotted subfloor common |
Ceiling below shower | Rarely affected (unless severe and prolonged) | Staining or dripping common on lower floor |
Flood test result | Water level holds | Water level drops |
Typical repair | Regrout, reseal, replace shower caulking | Liner replacement; often full tile tear-out |
DIY feasibility | High — grout repair and recaulking are accessible DIY tasks | Low — liner access requires demolition |
Repair urgency | High — worsens quickly without action | Critical — structural damage accelerates fast |
What to Avoid When Diagnosing or Repairing a Shower Leak
Making the wrong repair is expensive and leaves the real problem active. Here are specific mistakes to avoid:
Do not regrout over a failed pan. Applying new grout when the liner is torn wastes materials and time — water will continue reaching the subfloor through the liner, and the new grout will crack again within months as the saturated substrate continues moving.
Do not use standard silicone caulk at the floor-wall joint without removing old caulk fully. Silicone bonds poorly to itself; a new bead on top of degraded old caulk creates a false seal that fails quickly. Strip the old material completely before applying fresh shower caulking — for a full walkthrough of that process, see this guide on how to remove old caulk from a shower.
Do not ignore a bouncy subfloor. Soft subfloor means organic material (OSB or plywood) has begun to rot. Walking on it accelerates damage and can cause collapse in severe cases.
Do not assume mold is only a cosmetic issue. According to the NIH, mold exposure in damp indoor environments is linked to respiratory symptoms, allergic reactions, and aggravated asthma — making prompt leak diagnosis a genuine health priority, not just a home maintenance concern.
Do not skip the flood test and guess. Tearing out tile based on an incorrect diagnosis is an expensive, irreversible mistake.
When Should You Call a Professional?
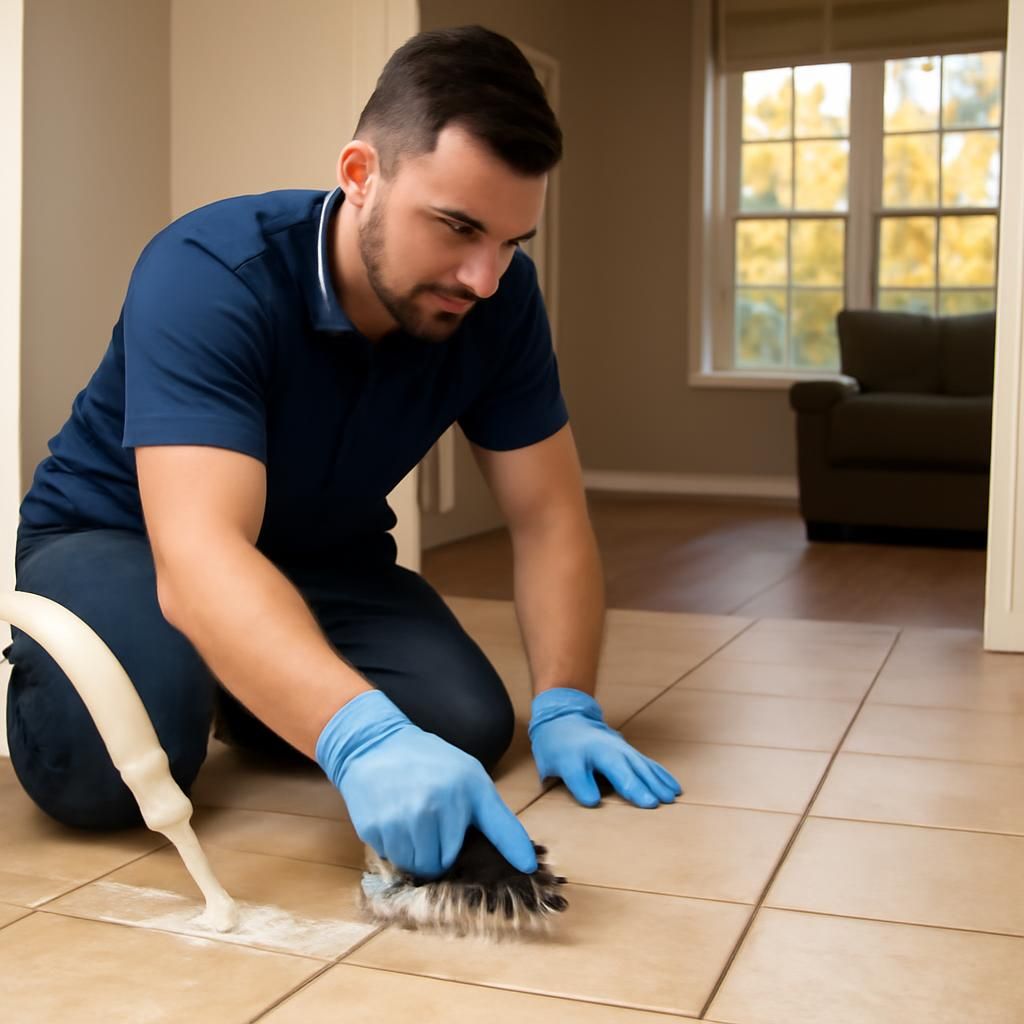
Grout repairs — including regrouting cracked joints, replacing deteriorated shower caulking at the wall-floor transition, and resealing tile surfaces — are genuinely within DIY reach for most homeowners and are core services offered by Groutastic's tile and grout cleaning and grout repair specialists. If you've confirmed the grout is the source of your leak, these five fixes for water leaking through shower grout walk you through your repair options in detail. These repairs address the problem at its source without requiring demolition.
Call a professional when:
The flood test confirms a pan liner failure — liner replacement requires full tile demolition, mortar bed removal, and reinstallation of a new liner or membrane system, work that must be done correctly the first time to avoid recurrence.
The subfloor is visibly rotted or structurally compromised — a general contractor or tile setter needs to assess load-bearing implications before any tile work resumes.
Mold has spread beyond surface grout into the wall cavity — remediation by a certified mold professional is required before cosmetic repair.
The leak source is genuinely ambiguous after the flood test — a professional can use thermal imaging or moisture meters to pinpoint infiltration without destructive exploration.
According to Realtor.com, water damage is one of the most significant factors that can reduce a home's resale value and complicate a real estate transaction — making early, accurate diagnosis and proper repair a financial priority, not just a comfort issue.
Frequently Asked Questions
Can a shower leak from both the pan and the grout at the same time?
Yes, and it is more common than most homeowners expect. A compromised liner allows water to pool beneath the tile, which accelerates mortar bed saturation and eventually causes grout to crack as tiles shift. Run the flood test first to rule out the pan; if the pan is intact, move to a thorough grout and caulk inspection.
How long can I wait before repairing a grout leak?
Not long. Even a hairline crack in grout at the floor-wall cove joint allows water to reach the substrate with every shower. Within weeks, that moisture begins to degrade the mortar bond, and within months, tile delamination and mold can set in. Address cracked grout and failed shower caulking as soon as you notice it — and if you're unsure whether the damage is DIY-repairable, review these 5 signs your grout needs professional repair before attempting a fix yourself.
Does new caulk fix a shower pan leak?
No. Recaulking the perimeter addresses only surface-level water entry points. If the liner beneath the tile is torn or improperly lapped at the drain, no amount of surface caulk will stop water from reaching the subfloor. The flood test is the only way to know for certain.
What is the most common place grout fails in a shower?
The floor-to-wall transition — the cove base angle — is the highest-stress joint in any tiled shower. This corner experiences constant thermal expansion, contraction, and slight structural flex. Industry best practice is to use flexible sanded caulk (color-matched to the grout) at all changes of plane rather than rigid grout, which inevitably cracks at those joints. When cracks appear throughout the floor or walls, a step-by-step guide to fixing cracked shower grout can help you work through the repair systematically.
Is a shower pan leak always visible from inside the shower?
Rarely. Liner failures typically occur at the liner-to-drain clamping ring, at penetration points, or at improperly overlapped seams — all locations hidden beneath the mortar bed and tile. The first visible evidence is usually on the ceiling below or as a soft, wet subfloor around the shower base, not on the tile surface itself.
Conclusion: Diagnose First, Repair Right
Whether your shower is leaking through failing grout or a compromised pan liner, the key is an accurate diagnosis before any repair work begins. Use the flood test to isolate the liner, inspect grout joints carefully for cracks and gaps, and match what you find to the signs outlined above. When the source is grout, targeted repairs can resolve the problem quickly and affordably. When the liner is at fault, plan for a more involved restoration — but catching it early keeps structural damage and remediation costs to a minimum. If you want to protect repaired grout from future water infiltration, applying the best grout sealer for bathrooms is a straightforward last step that significantly extends the life of your repair.
This article is based on real published content from Groutastic, cites authoritative sources, and is reviewed before publication.
Comments