
Summer Tile Restoration in East Moriches, NY: A Guide
By Josh Kaplan
Key Takeaways
Summer heat and humidity accelerate grout deterioration — restoration done now prevents costlier repairs later.
Most ceramic tile floors can be restored without replacement using deep cleaning, regrouting, and sealing.
Avoid acidic cleaners like vinegar on grout and natural stone — they etch surfaces and break down sealer.
Sealed grout resists summer moisture and mold; apply sealer after every deep cleaning or regrouting project.
DIY methods work for surface stains; cracked grout, mold penetration, or damaged tile warrant professional restoration.
How to Bring Old Tile Back to Life This Summer
Summer is the best time to restore tired tile in East Moriches, NY — longer days give adhesives, grout, and sealers adequate drying time, and open windows make ventilation easy. The good news for homeowners across Suffolk County: most dull, stained, or discolored tile does not need to be replaced. With the right sequence of steps, ceramic, porcelain, and even natural stone floors can look dramatically better in a single weekend.
The process follows a clear order: clean → repair → regrout or recolor → seal. Skipping a step — especially sealing — is the single most common reason tile looks worn again within months.
Can Floor Tiles Actually Be Restored Without Replacing Them?
Yes, in most cases. Tile itself is one of the most durable flooring materials available. What makes a tile floor look old is almost never the tile — it is the grout. Grout is porous cement that absorbs dirt, soap scum, cooking grease, and mineral deposits from hard water. Once stained deeply, ordinary mopping cannot reverse it.
The exceptions where replacement is genuinely necessary:
Tiles are cracked through (not just surface crazing) and shifting underfoot
There is moisture damage beneath the tile — hollow spots that flex when stepped on
More than 20–25% of the field tiles are chipped or broken
If none of those apply, restoration — not replacement — is almost always the right call, both for cost and for preserving the look of an original installation.
Step-by-Step: How to Restore Ceramic Tile Floors at Home
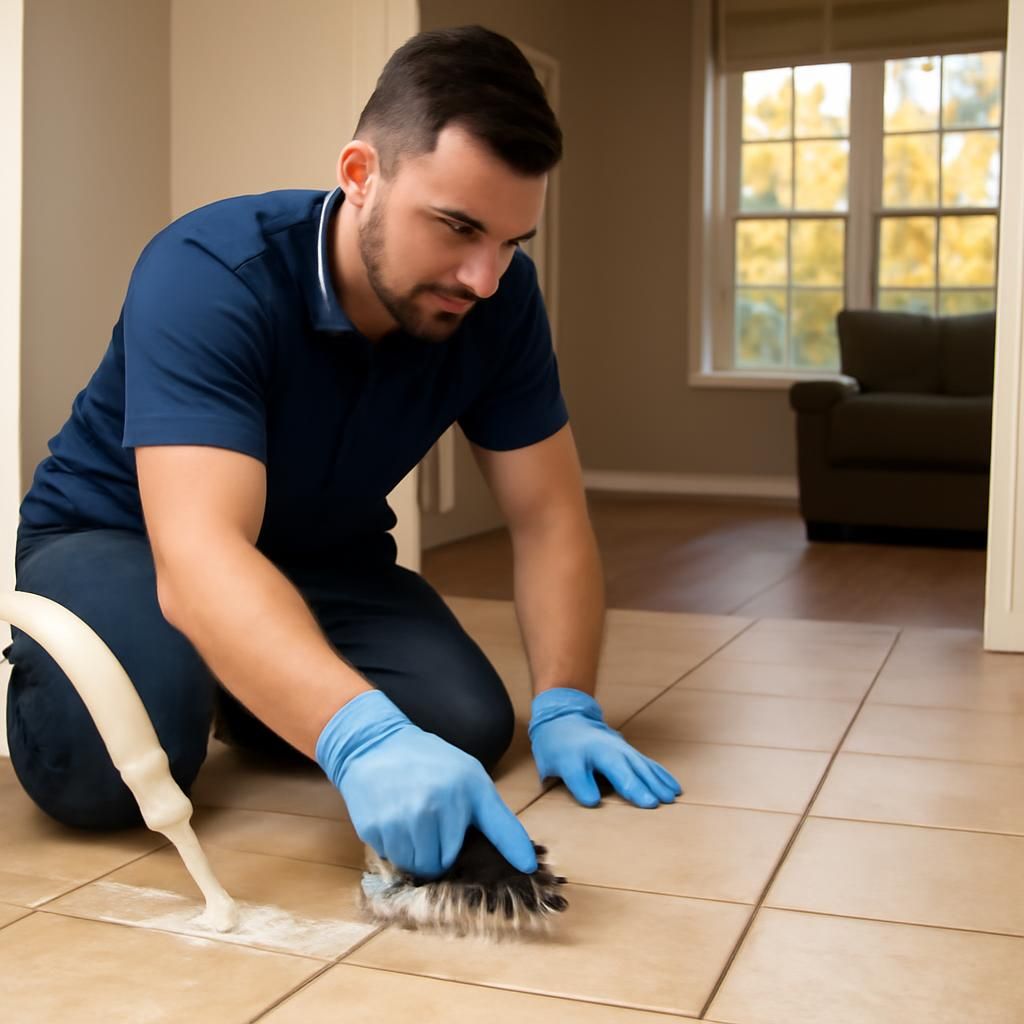
Deep-clean the tile and grout first Apply an alkaline tile cleaner (pH 9–11) to a dry floor and let it dwell for 5–10 minutes before scrubbing. An electric grout brush — such as a drill-mounted attachment — cuts scrubbing time dramatically compared to a hand brush and actually reaches into the grout channel rather than skimming over it. Rinse thoroughly with clean water and let the floor dry completely before moving to the next step. In summer, this typically takes 2–4 hours with good airflow.
Assess grout condition and repair damage Run a key or grout saw lightly along grout lines. If grout crumbles, feels sandy, or is missing in sections, it needs to be removed and replaced. Use an oscillating multi-tool with a grout-removal blade for straight, controlled cuts — far safer on surrounding tile than a rotary tool. Remove damaged grout to a depth of at least 2–3mm so new grout has something to bond to.
Regrout or use grout colorant For structurally sound but discolored grout, a grout colorant (sometimes called grout paint or grout stain) is a cost-effective option. Products in this category — such as Polyblend Grout Renew — work by penetrating the existing grout and depositing a pigmented sealer that both colors and protects in one application. This is appropriate when grout is intact but stained beyond cleaning. It is not appropriate over cracked, crumbling, or mold-compromised grout — in those cases, full regrouting is required. Apply colorant in small sections, wipe tile faces immediately, and allow 24 hours of cure time before foot traffic. The TCNA - Tile Council of North America publishes installation and maintenance standards that guide both professional and DIY grout selection for different tile types and wet areas.
Seal the grout This step is non-negotiable. Unsealed grout in a kitchen or bathroom — especially in summer when humidity is high — will re-stain within weeks. Apply a penetrating silicone or fluoropolymer grout sealer using a small applicator bottle with a roller tip, running it directly over the grout lines. Wipe any excess from tile faces within 5 minutes. Most sealers need 48–72 hours before the surface contacts water. In coastal Suffolk County communities like East Moriches, where summer humidity regularly climbs, sealing is especially important for preventing mold growth in bathroom and shower tile. The EPA - Mold Cleanup in Your Home notes that controlling moisture is the primary way to prevent mold — sealed grout is a direct line of defense.
Polish or refinish tile faces if needed For glazed ceramic or porcelain tile that has surface scratches or a cloudy appearance, a tile polishing compound applied with a low-speed buffer can restore surface gloss. This works on glazed tile only — do not use a polishing compound on unglazed quarry tile or textured slip-resistant tile, as it can alter the surface grip.
What Not to Use on Ceramic Tile and Grout
Several common household products cause lasting damage to tile and grout — the risks are specific, not vague:
Vinegar and lemon juice: Acidic pH etches natural stone (marble, travertine, limestone) and degrades grout sealer on any tile type. Even diluted, repeated use strips sealer and opens grout to staining.
Bleach on colored grout: Sodium hypochlorite will lighten or permanently strip pigment from colored or charcoal grout lines. It is useful for killing surface mold on white grout only — and only as an occasional treatment, not a regular cleaner.
Oil-based soaps (including Murphy's Oil Soap): Murphy's Oil Soap is formulated for wood floors and is not recommended for ceramic tile. It leaves a residue on tile faces that dulls the gloss and, over time, builds up a film that attracts dirt. It also coats grout in a way that traps grime rather than releasing it.
Steel wool or metal scrapers: These scratch glazed tile surfaces and leave microscopic metal particles that rust-stain light-colored grout.
Steam cleaners on cracked or poorly bonded tile: High-temperature steam can force water under loose tiles and accelerate debonding from the substrate.
How Long Do Ceramic Tile Floors Last?
Ceramic tile itself, when properly installed on a stable substrate, is extremely long-lived — often 20 to 50 years or more. The practical limiting factor is grout, which requires maintenance every 1–3 years (resealing) and full replacement every 10–20 years depending on traffic and moisture exposure. A floor that looks "old" at 10 years is almost always a grout problem, not a tile problem.
How to Make Tile Look New Again Without Full Refinishing
Sometimes restoration is simpler than homeowners expect. Before committing to a weekend project, try this sequence:
Clean with an alkaline cleaner and stiff grout brush — many floors look dramatically better after a proper deep clean alone.
If grout lines are uniformly discolored but intact, apply grout colorant rather than regrout.
If tile faces look dull, check whether the issue is a soap scum film. A non-abrasive bathroom tile cleaner designed to cut mineral deposits (look for citric acid or phosphoric acid formulations, safe on glazed ceramic) will often restore original brightness without any mechanical work.
When to Call a Professional Instead
DIY restoration works well for surface stains, light discoloration, and minor grout maintenance. The calculus changes — and calling a professional like Groutastic is genuinely the smarter option — when:
Mold is present below the grout surface or behind wall tile (visible as dark staining that returns within days of cleaning)
Multiple grout lines are cracked, missing, or show efflorescence (white mineral deposits pushed through from beneath)
The tile is natural stone — marble, travertine, or slate — which requires diamond-pad honing and specific pH-neutral chemistry to restore without damage
Shower pans or mud-bed floors need restoration, where improper work can compromise waterproofing
You want a uniform color match across an entire field of replaced and original grout — professional grout colorists have the tools to feather and blend in ways that DIY products cannot replicate
The IICRC - Institute of Inspection Cleaning and Restoration Certification sets industry standards for professional tile and grout restoration, including procedures for moisture assessment and mold remediation in tiled surfaces — a useful benchmark when evaluating any restoration contractor.
Groutastic serves East Moriches and surrounding communities including East Hampton, Huntington Bay, and Greenport, handling both residential and commercial tile cleaning and restoration. If you are unsure whether your tile needs professional attention, a walkthrough assessment will identify exactly what is restorable and what genuinely needs replacement — so you are not spending money on either option unnecessarily.
Frequently Asked Questions
Is summer actually a good time for tile restoration?
Yes — warm temperatures accelerate grout cure times and improve sealer penetration. Open windows make it practical to ventilate chemical fumes safely. The main caution is avoiding restoration during peak heat (above 90°F) if windows are closed, as some solvent-based products require ventilation that a sealed, air-conditioned room may not provide.
How do I refinish tile without replacing it?
The most practical route is deep cleaning → grout colorant or regrouting → sealing. For damaged glazed tile surfaces, a professional can apply a spray-applied epoxy refinishing coating, but this is a specialist job: improper surface prep causes the coating to peel within months. For most homeowners, the grout restoration sequence delivers the majority of the visual improvement without the risk of a full refinish.
What is the correct grout sealer for high-humidity areas?
Use a penetrating (impregnating) sealer rather than a topical (coating) sealer in wet areas like showers and bathrooms. Penetrating sealers bond below the grout surface and allow moisture vapor to escape, preventing the trapped moisture and bubbling that topical sealers can cause in constantly wet environments.
Published by Groutastic.
Comments