
Marble Floor Cleaning & Restoration: Long Island Guide

By Josh Kaplan
Key Takeaways
Marble is porous and acid-sensitive — acidic cleaners etch the surface permanently, even once.
Sealing marble every 12–18 months prevents staining and extends the life of a restoration.
Hazy, dull, or scratched marble often needs professional honing before re-polishing restores clarity.
Long Island's hard water leaves calcium deposits on marble grout lines that require pH-neutral enzymatic cleaners, not vinegar.
DIY maintenance works well between professional restorations, but deep etching and cracked grout need expert repair.
What Is Marble Floor Cleaning and Restoration — and Why Does It Matter on Long Island?
Marble floor cleaning and restoration is the process of removing surface soils, mineral deposits, and stains from natural stone, then repairing or renewing the finish through honing, polishing, and sealing. On Long Island, where hard municipal water, salt air near the coast, and high-humidity bathrooms accelerate surface damage, keeping marble looking its best requires a more deliberate approach than most stone owners realize. Done correctly, the process adds decades to a floor's life.
According to Wikipedia, marble is a metamorphic rock composed primarily of recrystallized carbonate minerals — most often calcite or dolomite — which makes it both beautiful and chemically vulnerable. That calcium-carbonate structure reacts instantly with acids, including many household cleaners, citrus-based products, and even wine or coffee. A single accidental use of the wrong cleaner can leave a permanent dull patch called an etch mark.
According to Statista, the global natural stone flooring market continues to grow, driven partly by homeowners investing in premium surfaces like marble — a trend clearly visible in Long Island's older Craftsman homes, modern Nassau County renovations, and coastal Suffolk County bathrooms alike. That investment is only protected when the stone is properly maintained.
How Is Long Island's Environment Harder on Marble Than Most Areas?
Long Island's environment creates specific challenges for marble floors that generic cleaning guides simply don't address. Three factors stand out.
Hard Water and Calcium Buildup
Long Island tap water is notoriously hard, with elevated calcium and magnesium levels from its glacial aquifer system. Over time, this hard water leaves white mineral deposits — limescale — on marble tiles and, critically, deep inside grout lines. Many homeowners instinctively reach for vinegar to dissolve these deposits. That is exactly the wrong move: vinegar is acetic acid, and it etches marble's calcite surface on contact, creating irreversible cloudy dullness. The correct approach is a pH-neutral enzymatic cleaner or a product specifically formulated for natural stone, applied with a soft microfiber mop.
Coastal Humidity and Salt Air
Homes in areas like Long Beach, Rockaway Peninsula, and the South Shore barrier islands deal with airborne salt particles that settle on floors and grout. Salt is hygroscopic — it draws moisture — which keeps marble surfaces damp longer and accelerates efflorescence (the white, chalky bloom that pushes up through grout lines and porous stone). Increasing bathroom ventilation and drying floors promptly after showering are the two most effective preventive steps for coastal Long Island homes.
Freeze-Thaw Cycles for Exterior Marble
For Long Island homeowners with marble on covered porches, entryways, or steps, winter freeze-thaw cycles force water that has penetrated unsealed stone to expand and contract, eventually causing micro-fractures and spalling. Sealing exterior marble before the first hard frost — ideally by October — is essential.
What Products and Tools Are Safe for Marble?
Choosing the wrong product is the single most common cause of permanent marble damage. Here is a clear breakdown of what works and what to avoid.
Product / Tool | Safe for Marble? | Why / Notes |
pH-neutral stone cleaner (e.g., StoneTech Stone & Tile Cleaner) | ✅ Yes | Formulated for calcite-based stone; will not etch |
Dish soap diluted in warm water | ✅ Yes (occasional use) | Gentle enough for light cleaning; rinse thoroughly |
Microfiber mop | ✅ Yes | Non-abrasive; picks up grit without scratching |
White vinegar or lemon juice | ❌ No | Acid etches calcite instantly; permanent damage |
Bleach or ammonia-based cleaners | ❌ No | Strips sealers and dulls finish over time |
Steam cleaner (high-temperature) | ⚠️ Caution | Can loosen sealers; use low-pressure only on sealed stone |
Scrubbing powder (e.g., Comet) | ❌ No | Abrasive particles scratch polished surfaces permanently |
Nylon brush (soft bristles) | ✅ Yes (for grout lines) | Safe for grout; keep off polished stone face |
According to Healthline, many common household cleaners contain volatile organic compounds (VOCs) that can irritate airways in enclosed spaces like bathrooms — another reason to choose stone-specific, low-VOC formulas when cleaning marble floors in poorly ventilated Long Island bathrooms.
Step-by-Step: How to Clean Marble Floors at Home
This routine works for weekly maintenance and is suitable for both bathroom marble floors and kitchen or foyer installations.
Dry-sweep or dust-mop first. Use a microfiber dust mop to remove all loose grit and sand. Skipping this step means you drag abrasive particles across the polished surface during wet mopping — the equivalent of sanding your floor.
Mix your cleaning solution. Add a few drops of pH-neutral stone cleaner (or a small amount of mild dish soap) to a bucket of warm — not hot — water. Hot water opens marble's pores and can drive soap residue deeper.
Mop in sections, wringing the mop nearly dry. Marble should never be left sitting in standing water. Work in manageable sections, about 4 feet square.
Rinse with clean water. A second pass with a clean mop dampened with plain water removes soap film, which dulls marble if left to dry.
Dry immediately. Use a dry microfiber towel or a second dry mop head to remove all surface moisture. This step is especially important for Long Island homes with hard water — letting water air-dry leaves mineral spots.
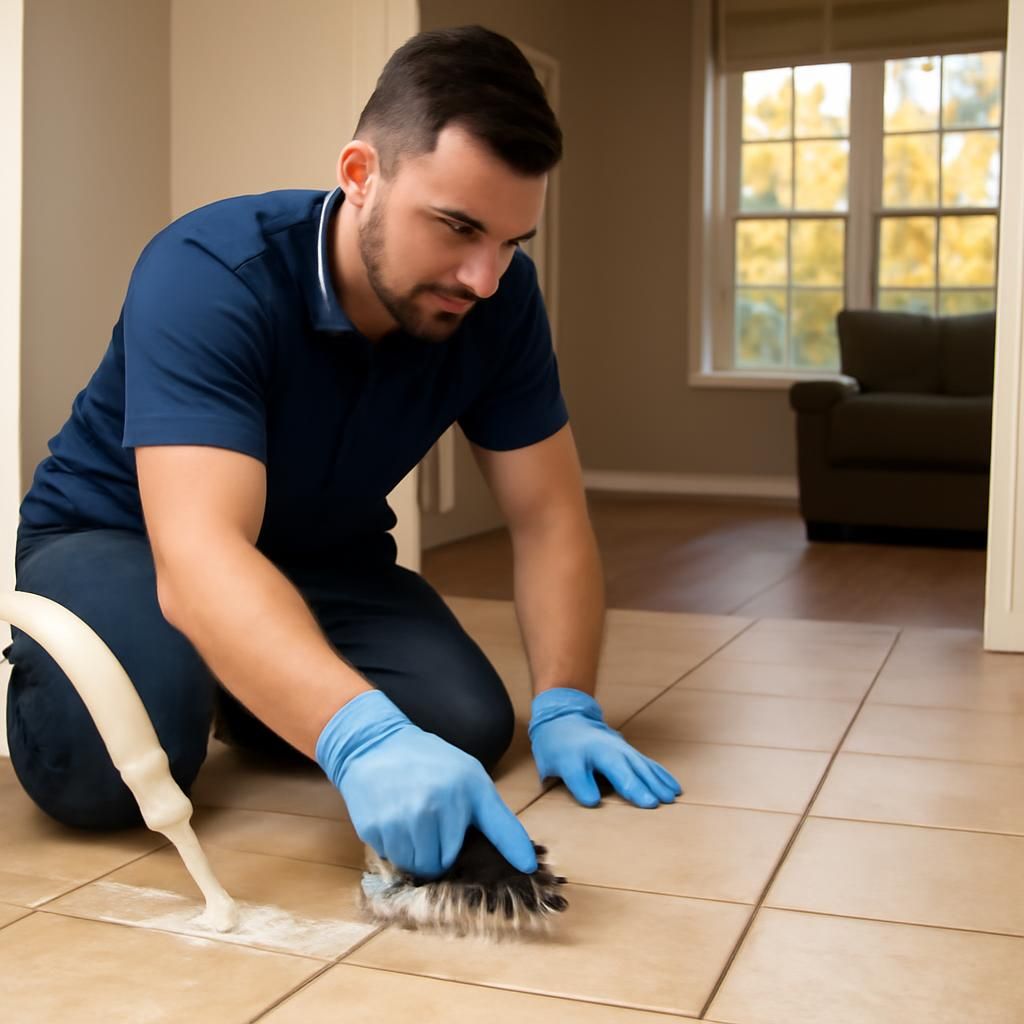
Address grout lines separately. Use a soft nylon brush and the same pH-neutral solution on grout lines. For more stubborn grout soiling between marble tiles, professional grout cleaning services use heated extraction equipment that lifts debris from deep in the pores without touching the stone face.
Inspect for etch marks or stains. After cleaning, view the floor at a low angle in natural light. New etch marks appear as dull, matte patches on an otherwise reflective surface. New stains appear as discoloration that didn't lift with cleaning. Both warrant next steps (see below).
What Does Marble Restoration Actually Involve?
Marble restoration is a multi-stage professional process that goes well beyond cleaning. It is the correct solution when a marble floor shows deep etching, scratches, heavy staining, or has lost its reflective clarity and no amount of surface cleaning restores it.
Honing
Honing is the mechanical grinding of the marble surface using progressively finer diamond abrasive pads — typically moving from a coarser 50-grit pad to a finer 400-grit pad — to remove scratches, etch marks, and surface irregularities. The result is a smooth, satin finish. Honing is the essential first step before polishing on any badly damaged marble; trying to polish an etched surface without honing first simply burnishes the damage in place.
Polishing
After honing, polishing uses very fine abrasives (800-grit and higher, often combined with a crystallization or powder-polishing compound) to restore the mirror-like reflective finish marble is known for. This is a skilled, time-consuming process — rushing through grits leaves micro-scratches visible under raking light.
Sealing
Once the surface is clean, honed, and polished, a penetrating impregnating sealer is applied. Unlike topical coatings that sit on the surface and peel, penetrating sealers like Miracle Sealants 511 Impregnator soak into the marble's pores and create an internal barrier against water and oil-based stains. On Long Island marble floors, reapplication every 12 to 18 months is a reasonable maintenance interval — more frequently in high-traffic entryways or wet bathrooms.
Grout Repair and Caulking
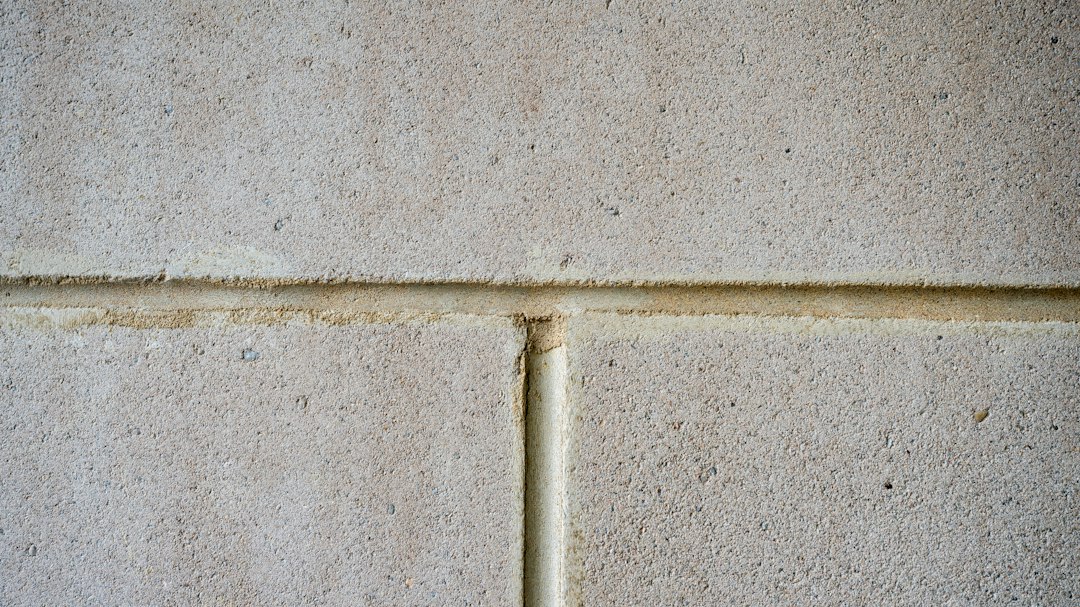
A full marble floor restoration almost always includes attention to the grout lines between tiles. Cracked, stained, or crumbling grout undermines the waterproofing of the entire installation, allows moisture to reach the substrate, and looks visually jarring against restored marble. In shower environments especially, the caulk joints at wall-to-floor transitions and corners must be removed and replaced as part of any thorough restoration. Old caulk harbors mold that no surface cleaning will eliminate — it must come out. Shower caulking replacement and grout repair are core services in a complete marble floor restoration project.
What Should You Absolutely Avoid Doing to Marble?
The following mistakes cause damage that ranges from expensive to repair to irreversible. Each one is specific to marble and frequently misapplied by well-meaning homeowners following general tile cleaning advice.
Never use vinegar, lemon juice, or any acidic cleaner. Even diluted, these etch marble within seconds of contact.
Never use grout haze remover on marble. Most grout haze removers are acidic and are designed for ceramic tile — they will permanently damage polished marble.
Never scrub with steel wool or abrasive pads. Even "gentle" scrubbing pads scratch a polished marble surface.
Never let water pool near unsealed grout lines. Water that sits in cracked grout penetrates the substrate, causes tile lippage (uneven edges), and promotes mold beneath the floor surface.
Never apply a topical wax or acrylic floor finish to marble. These products trap dirt underneath the coating, yellow over time, and require chemical strippers to remove — strippers that may themselves damage the stone.
Never ignore new etch marks. A small fresh etch mark can be buffed out with a marble polishing powder like Tenax Ager or MB-11. Left for months, the etch deepens and requires professional honing.
When Should Long Island Homeowners Call a Professional?
DIY marble maintenance is genuinely effective for weekly cleaning and minor surface care. However, there are clear situations where attempting to do more without professional equipment makes damage worse and more expensive to fix.
Deep etch marks or scratches that don't respond to polishing powder require mechanical honing with diamond abrasives — a process that requires professional-grade rotary equipment and skill to execute evenly across an entire floor without creating low spots.
Widespread grout deterioration — crumbling, cracked, or hollow-sounding grout under multiple tiles — indicates a substrate moisture problem. A professional can assess whether regrouting alone is sufficient or whether tiles need to be reset.
Black mold in grout or caulk lines in showers is not a surface problem; it has penetrated into the grout body and the caulk backer. Professional grout cleaning and shower caulking removal and replacement are the correct solutions, not bleach sprays that temporarily lighten the surface.
Large staining events — oil, wine, rust, or dye penetration — benefit from professional poultice treatment using specific drawing agents matched to the stain type.
Upcoming home sale or renovation is an ideal trigger for a complete professional marble floor restoration, since a professionally honed and polished marble floor meaningfully improves the visual impression of a home.
Groutastic provides tile and grout cleaning, grout repair, and shower caulking services across Long Island, making professional marble floor restoration accessible for Nassau and Suffolk County homeowners without the need to source multiple contractors.
Frequently Asked Questions: Marble Floor Cleaning on Long Island
How often should marble floors be professionally cleaned on Long Island?
Most Long Island marble floors benefit from professional cleaning and inspection once a year, with DIY pH-neutral mopping weekly or biweekly between appointments. High-traffic entryways and bathroom floors may warrant professional service twice per year.
Can I use a steam mop on marble?
Steam mops are not recommended for marble floors. High-pressure steam can drive moisture into unsealed grout lines, loosen penetrating sealers over time, and — on older installations with epoxy grout — cause thermal stress on grout joints. Stick to a nearly dry microfiber mop with a pH-neutral cleaner.
How do I know if my marble needs sealing?
Drop a few water droplets on the marble surface and wait 10–15 minutes. If the water beads up and sits on top, the sealer is still active. If the water darkens the stone and absorbs in, the sealer has worn off and reapplication is overdue.
What causes the grout between my marble tiles to turn black?
Black discoloration in grout lines between marble tiles is almost always mold or mildew — not dirt — caused by persistent moisture. In Long Island bathrooms with inadequate ventilation, this is extremely common. Surface scrubbing temporarily lightens the grout, but the correct fix is professional grout cleaning followed by proper sealing or, if the grout is severely compromised, professional grout repair and replacement.
How long does a full marble floor restoration take?
A professional marble restoration on a standard bathroom floor (40–80 square feet) typically takes one full day — several hours for honing and polishing, then sealer curing time before the floor can be walked on. Larger foyer or kitchen marble installations may require two days.
Conclusion: Protect Your Long Island Marble Investment
Marble floor cleaning and restoration on Long Island demands more care than standard tile maintenance — the stone's calcite composition makes it uniquely sensitive to the acid-based cleaners, hard water deposits, and coastal humidity that are everyday realities in Nassau and Suffolk County homes. The good news is that a clear routine — weekly pH-neutral mopping, prompt drying, resealing every 12 to 18 months, and annual professional grout cleaning — keeps most marble floors in excellent condition indefinitely. When deep etching, cracked grout, or persistent mold appear, that is the signal to move from maintenance to professional restoration before the damage compounds. Groutastic's tile and grout cleaning, grout repair, and shower caulking services are designed precisely for that next step — restoring what routine care can't fix and protecting what you've already invested in.
This article is based on real published content from Groutastic, cites authoritative sources, and is reviewed before publication.
Comments