
Best Shower Caulking Near Me: Commack, NY Guide
Updated: 4 days ago

By Josh Kaplan
Key Takeaways
100% silicone caulk outperforms latex in showers — it won't shrink, crack, or grow mold as quickly.
Recaulk your shower every 1–3 years, or sooner if you see cracking, peeling, or discoloration.
Professional shower caulking in the Commack area typically costs less than a single plumber visit to fix water damage.
DIY recaulking works for small joints; hire a pro when grout, tile, or substrate damage is involved.
Book restoration services early in spring or fall — demand peaks in summer and holiday seasons near Suffolk County.
What Is Shower Caulking and Why Does It Matter?
Shower caulking is the flexible, waterproof sealant applied along the joints where your shower walls meet the floor, tub deck, and fixtures — and it is your bathroom's primary defense against water intrusion, mold growth, and structural tile damage. For homeowners searching for shower caulking near me in Commack, NY, understanding what you actually need — the right material, the right timing, and whether a DIY fix or professional restoration is the smarter call — can save you from far more expensive repairs down the line.
What Type of Caulk Is Best for Showers?
The best caulk for a shower is 100% silicone caulk, not latex or acrylic-latex blends. Silicone remains permanently flexible after curing, which is essential because shower surrounds expand and contract with every temperature change. Unlike sanded or unsanded grout caulk (which is grout-pigmented caulk used at floor-to-wall transitions to match your tile), pure silicone does not shrink, absorb water, or support mold colonization the way latex does.
Should I Use Caulk or Silicone in My Shower?
Use 100% silicone in a shower, not standard acrylic-latex caulk. Acrylic-latex is paintable and easy to tool, but it softens and peels under constant moisture. The one exception: at floor-to-wall corners where your grout color needs to be matched precisely, a sanded silicone-blend caulk (sometimes sold as "color-matched tub and tile caulk") is appropriate — it combines flexibility with pigment that blends with your tile grout. Do NOT use latex-only caulk anywhere that stays wet for extended periods.
Caulk Type | Best For | Not Suitable For | Key Advantage |
100% Silicone | Shower joints, tub surrounds, wet zones | Surfaces you need to paint over | Maximum waterproofing, no shrinkage |
Sanded Silicone-Blend | Floor-to-wall corners matching grout color | Narrow joints under 1/8 inch | Blends visually with tile grout |
Acrylic-Latex | Dry interior trim, baseboards | Any consistently wet shower surface | Paintable, easy to clean up |
Polyurethane | Exterior joints, concrete, wood | Finished tile shower interiors | Exceptional adhesion to rough substrates |
What Is the Average Cost to Caulk a Shower?
Professional shower caulking in the Commack, NY area — and broadly across Suffolk County — typically runs between $150 and $400 for a standard tub-shower combination, depending on the linear footage of joints, the condition of the existing caulk, and whether old caulk removal and surface prep are included. Jobs that involve mold remediation, damaged backer board, or full shower restoration work will carry higher costs. A critical point: that price is almost always less than even one visit from a plumber to address water damage that failed caulk allowed to develop inside your walls.
DIY materials — one or two tubes of quality silicone caulk plus a removal tool — cost under $30, but the labor, prep, and clean tooling take real skill to get right on a visible surface.
How Often Are You Supposed to Recaulk a Shower?
Shower caulk should be inspected every year and replaced every 1 to 3 years under normal residential use. In households with heavy daily use — multiple family members, long showers, or hard Suffolk County water that leaves mineral deposits — the lower end of that range is more realistic. Any of the following signs mean it is time to recaulk now, regardless of age:
Visible cracking, peeling, or separation from the tile or tub surface
Yellowing, pinkish, or black discoloration (early mold or mildew)
Soft or spongy texture when pressed
Caulk pulling away from the corner joint even slightly
Water pooling at the base of the shower wall after a shower
Is It Easy to Recaulk a Shower Yourself?
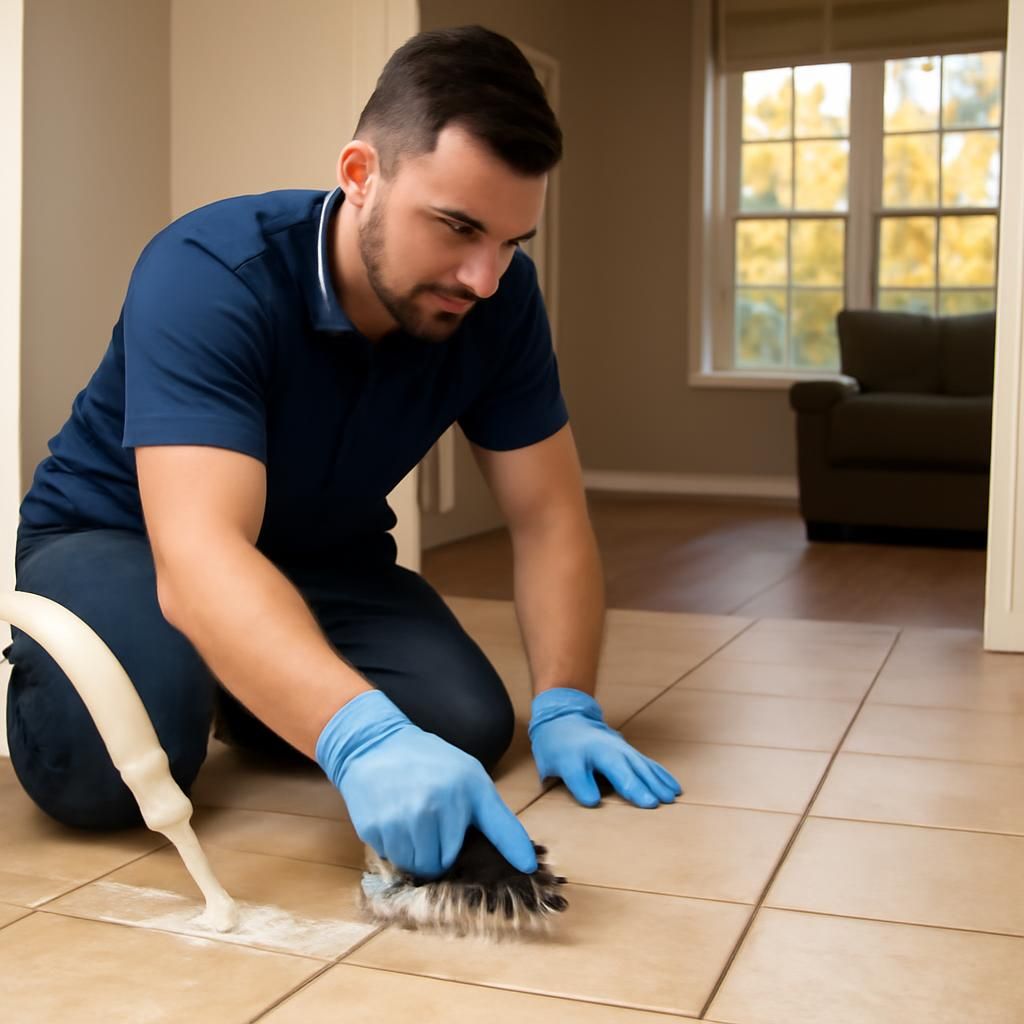
Recaulking a shower is a manageable DIY project for a patient homeowner — but it has real failure points that make professional results genuinely different from a rushed home repair. The process is straightforward in principle:
Remove all old caulk completely. Use an oscillating tool with a scraper blade (like a Fein MultiMaster or similar) or a dedicated caulk removal tool. Leaving any old caulk behind is the single most common cause of the new caulk failing prematurely — new silicone will not bond to old silicone.
Clean and dry the joint thoroughly. Apply isopropyl alcohol to the joint and let it fully dry — 24 hours in a humid bathroom is not excessive. Any moisture trapped under new caulk will cause adhesion failure.
Apply painter's tape on both sides of the joint for a clean, straight bead.
Cut the caulk tube tip at a 45-degree angle, smaller than you think — a 1/8-inch opening is right for most shower joints.
Apply a steady, continuous bead in one pass without stopping.
Tool the bead immediately with a wet finger or a caulk finishing tool, then remove the tape before the silicone skins over (usually within 5–10 minutes).
Allow a full 24–48 hours cure time before any water contact.
Where DIY recaulking falls short: when the substrate behind the tile is compromised (softened drywall, damaged cement board), when mold has colonized below the tile surface, or when the joint geometry is irregular because tiles have shifted — those are situations where a surface caulk bead is a cosmetic fix, not a real repair.
What Are Common Caulking Mistakes to Avoid?
These specific mistakes account for the majority of failed DIY recaulking jobs:
Caulking over old caulk: The new layer has nothing solid to bond to and will peel within weeks. Always remove completely.
Using acrylic-latex caulk in wet zones: It will soften and shrink. Silicone only for shower joints.
Skipping the drying stage: Moisture underneath silicone prevents adhesion — even if the surface looks dry, give it 24 hours.
Cutting the tube tip too wide: A large opening dumps too much product and makes a clean bead nearly impossible to achieve.
Tooling too slowly: Silicone skins within minutes. Tool immediately, tape off quickly.
Using the shower too soon: Silicone needs 24–48 hours of cure time; water contact before that ruins the seal.
Ignoring the floor-to-wall joint: Many homeowners caulk the visible vertical joints but leave the floor corner — which is exactly where water pools and pressure is highest.
When Should Commack Homeowners Call a Professional?
Professional shower caulking — and full shower restoration — becomes the right call when the job goes beyond a surface bead. In Commack, NY and the broader Suffolk County area, Groutastic provides both residential and commercial surface cleaning and restoration services, which means they address not just the caulk line but the underlying tile condition, grout integrity, and substrate health as a complete system.
Book a professional when:
Tiles are loose, hollow-sounding, or cracked (indicates substrate water damage)
There is visible mold or discoloration that extends behind the grout lines
You are preparing a home for sale and need a clean, professional result
The grout itself is crumbling and needs replacement alongside the caulk
You have a commercial property in Northport, Patchogue, or elsewhere in the service area with high-traffic shower facilities
What About Scheduling and Lead Times Near Commack?
In Suffolk County, demand for tile and caulking restoration work follows predictable seasonal patterns. Summer — when families are home, using bathrooms more heavily, and preparing for guests — is peak season, and booking slots fill faster. Spring (April–May) and early fall (September–October) see a second surge as homeowners tackle renovation projects before winter. If you are planning a shower restoration project, aim to book at least 2–3 weeks ahead during those windows. January and February tend to offer the most scheduling flexibility. Homeowners in communities like Old Field or Ocean Beach with seasonal properties should schedule early in the spring before the rush hits.
FAQ: Shower Caulking Near Me
Can I paint over silicone caulk?
No. 100% silicone caulk cannot be painted — paint will not adhere to its surface. If your shower is tiled, this rarely matters. If you need a paintable caulk in a dry area adjacent to the shower, use a siliconized acrylic-latex product, but keep it away from the wet zone.
How do I know if my grout joints need caulk or more grout?
Movement joints and ordinary grout joints serve different purposes. TCNA describes movement-joint materials as allowing expansion and contraction. Ask the installer which joints require flexible sealant and which field joints can be regrouted, following the installation system and sealant manufacturer’s directions.
How long does professional shower caulking last?
A properly prepped and applied professional silicone caulk job in a residential shower can last 5 to 10 years with routine cleaning — significantly longer than the 1–2 years typical of a rushed DIY application, because surface prep and full old-caulk removal are done correctly the first time.
Does shower caulking affect home value?
Visibly failed, moldy, or peeling caulk is one of the most common issues flagged during home inspections on Long Island. Buyers and inspectors treat it as a signal of deferred maintenance. Fresh, clean caulk — especially as part of a complete shower restoration — is a low-cost improvement with a strong visual impact in bathrooms, which are among the highest-weighted rooms in resale evaluations.
Conclusion: Get Your Shower Sealed Right the First Time
Finding reliable shower caulking near me in Commack means knowing what to ask for: 100% silicone at wet joints, complete removal of old caulk before any new application, and a clear-eyed assessment of whether the problem is cosmetic or structural. DIY recaulking is a real option for a healthy shower with a simple failing bead — but when tiles, grout, or the substrate itself are involved, a professional shower restoration protects your home and delivers results that last years, not months. Groutastic serves residential and commercial clients throughout Suffolk County with exactly that level of complete surface care. Reach out to schedule an assessment before a small caulk gap becomes a much larger water damage repair.
This article is based on real published content from Groutastic, cites authoritative sources, and is reviewed before publication.
Comments